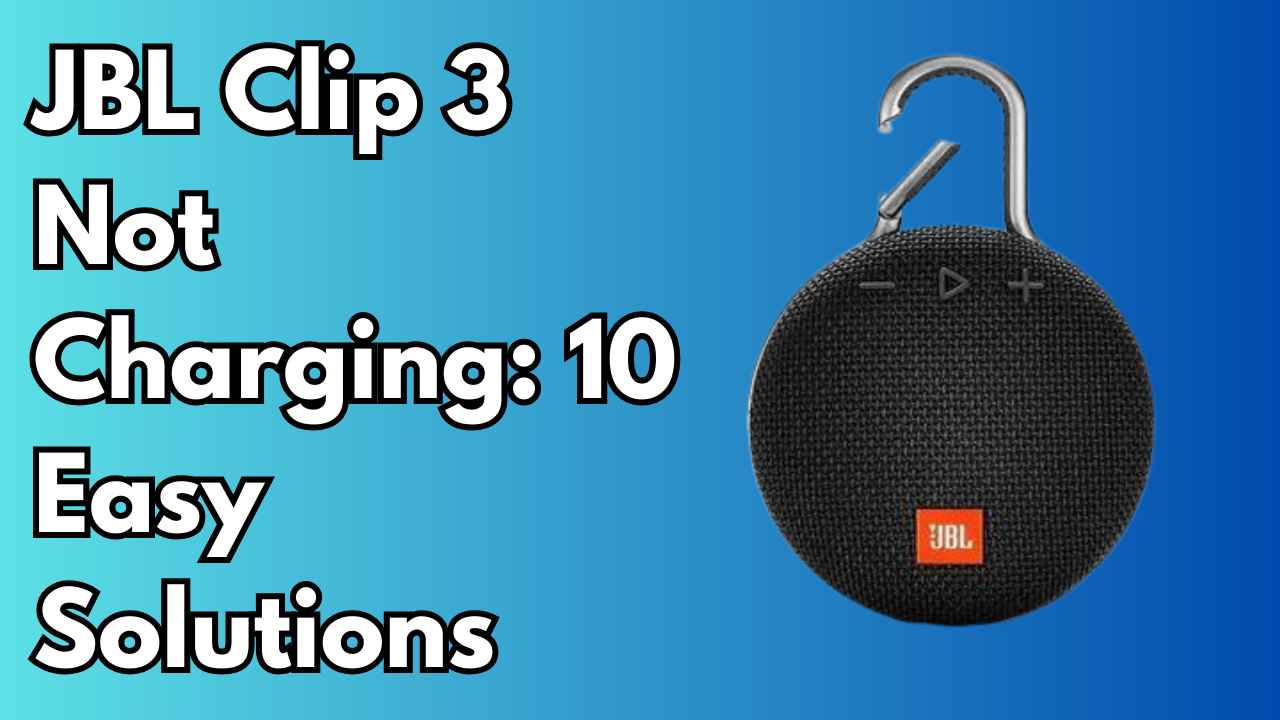
Facing charging issues with your JBL Clip 3 can be frustrating, but worry not – we’ve got a detailed guide with ten distinct solutions to help you get your portable speaker back in action.
In this comprehensive article, we will delve into each solution, ensuring that we provide a thorough and effective troubleshooting process without repeating any steps.
First and Foremost:
Before diving into the fixes for the JBL Clip 3 not charging issue, let’s address a few key points to respect your valuable time:
If you’ve recently bought a JBL Clip 3 and it’s already causing charging problems, consider a refund.
Save both your money and time by exploring alternative speakers available at the same price range, such as “Polaroid P1 Mini Bluetooth Speaker” and “Anker Soundcore 2”.
Generally, a JBL Clip 3 functions well for about 2-5 years. If you’ve been using it for that duration, you’ve likely gotten your money’s worth.
Trying to fix a speaker at the end of its lifespan may provide a short-term solution, lasting only 1 or 2 more months.
If you’re relying on a fixed speaker for uninterrupted music enjoyment, there might be other reliable choices.
If your JBL Clip 3 has been in use for less than four years, you can explore the practical fixes mentioned below.
How to Fix JBL Clip 3 Not Charging
Check the Charging Cable and Outlet
The initial step in troubleshooting the JBL Clip 3 speaker’s charging issue is to examine the charger and USB cable.
Start by trying a different charging cable and connecting the speaker to another power outlet.
If the speaker charges using a different cable and outlet, it suggests an issue with the original cable or outlet.
Additionally, ensure that the charging cable is correctly plugged into both the power source and the speaker.
Also Read: Boom 3 Speaker Not Charging
Clean the Charging Port
To resolve the issue of a JBL Clip 3 Speaker not charging, consider cleaning the charging port as one of the solutions. This can help ensure proper contact and connection for charging.
Use a dry, soft cloth to gently wipe away any dust or debris that may be blocking the charging port.
Avoid using sharp or abrasive objects for cleaning to prevent damage to the port. Regularly maintaining the cleanliness of the charging port can optimize the charging process and ensure the longevity of the speaker’s functionality.
Reset the Speaker
To address charging issues potentially caused by minor software glitches with your JBL Clip 3 speaker, consider performing a simple reset. Follow these steps:
- Disconnect the charger from the speaker.
- Press and hold the Power and Volume Down buttons simultaneously for approximately 10 seconds.
- Wait until you hear a sound, then wait a few more seconds before powering on the speaker again.
If successful, this process should resolve any software-related charging problems.
Update the Firmware
To ensure optimal performance and address potential issues, JBL regularly releases firmware updates for the Clip 3 speaker. Follow these steps to update the firmware:
- Download the latest app for your JBL Clip 3 speaker.
- Connect your speaker to your smartphone.
- Open the app, navigate to “More,” then select the update prompt.
Updating the firmware can resolve compatibility issues that may impact the charging process and improve overall functionality.
Check for a faulty PCB
If a JBL Clip 3 Speaker is not charging, a faulty PCB (Printed Circuit Board) could be the culprit. You may notice this issue if the speaker only operates when connected to the charger but fails to turn on when the charger is disconnected.
Other signs of a faulty PCB include the battery monitor indicating a certain percentage even with the battery removed and the charging LED only flashing when the battery is removed.
In such cases, it may be necessary to inspect the pin connections for the battery connector and potentially replace the PCB to resolve the charging problem.
Charge Overnight
To resolve the issue of a JBL Clip 3 not charging, one common solution is to charge the speaker overnight. This method is recommended by JBL Support as a troubleshooting step for charging issues.
Charging the product overnight for at least 8 hours can help ensure that the battery is adequately charged and may help address issues where the speaker does not charge fully or at all.
It is advised to use a stable charging cable and a charger rated at least 2.0a output. If the speaker continues to have charging problems after trying this method, it is recommended to contact JBL Support for further assistance.
Check speaker for Physical Damage
To address the issue of a JBL Clip 3 not charging, it is important to consider the possibility of physical damage to the speaker.
This damage could be in the form of a damaged front speaker grill, which is common in the Clip 3 model.
If the grill has fallen off or been damaged, it could affect the speaker’s ability to charge properly.To check for physical damage, inspect the speaker carefully, paying close attention to the front grill.
If the grill is damaged or missing, it may be necessary to replace it in order to restore the speaker’s charging capabilities.
Check for Water Damage
Despite its water-resistant design, prolonged exposure to water can damage internal components. Water damage could affect the charging capability of the device.
Inspect your JBL Clip 3 for any signs of water ingress, such as moisture under the speaker grille or around the charging port. If you suspect water damage, you can try drying the speaker thoroughly with a soft cloth and leaving it in a dry place for a few days.
Check for Battery Damage
If you’ve tried all the previously mentioned solutions and your JBL Clip 3 speaker still isn’t charging, it may be due to a battery issue. Keep in mind that the Clip 3 utilizes a Lithium-Ion Rechargeable Battery, which has a limited lifespan.
If you’ve been using it consistently for over a year, it’s possible that the battery has degraded and can no longer hold a charge effectively. In such cases, replacing the battery is the recommended course of action.
For a more thorough assessment of the battery’s health, you can use a multimeter. Set the multimeter to the ohms setting and check the speaker’s resistance.
A healthy speaker should exhibit very low resistance, typically below 0.1 ohms. Then, set the multimeter to the DC voltage setting and measure the voltage across the speaker terminals. A healthy battery should register a voltage between 12.6 and 12.8 volts.
If the resistance is too high or the voltage is too low, it indicates potential damage to the speaker battery, necessitating replacement.
It’s important to understand that replacing the battery can be a challenging and potentially hazardous task. Therefore, it’s advisable to seek professional assistance to ensure the safe and proper replacement of the battery.
Contact JBL Support
If all else fails, it’s time to seek assistance from JBL support. They can provide further diagnostics and offer solutions based on the warranty status of your device.
Feel free to reach out to their customer support for expert guidance.
Conclusion
Encountering charging issues with your JBL Clip 3 can be a roadblock to enjoying your favorite music on the go.
With these ten detailed solutions, you now have a comprehensive toolkit to troubleshoot and revive your portable speaker.
Remember to approach each fix with care and, if uncertain about any step, seek assistance from JBL support. Soon enough, you’ll be back to enjoying your tunes with a fully charged JBL Clip 3
